
Easter is approaching and with it the desire to take advantage of a few days off school and work to spend some quality time together.
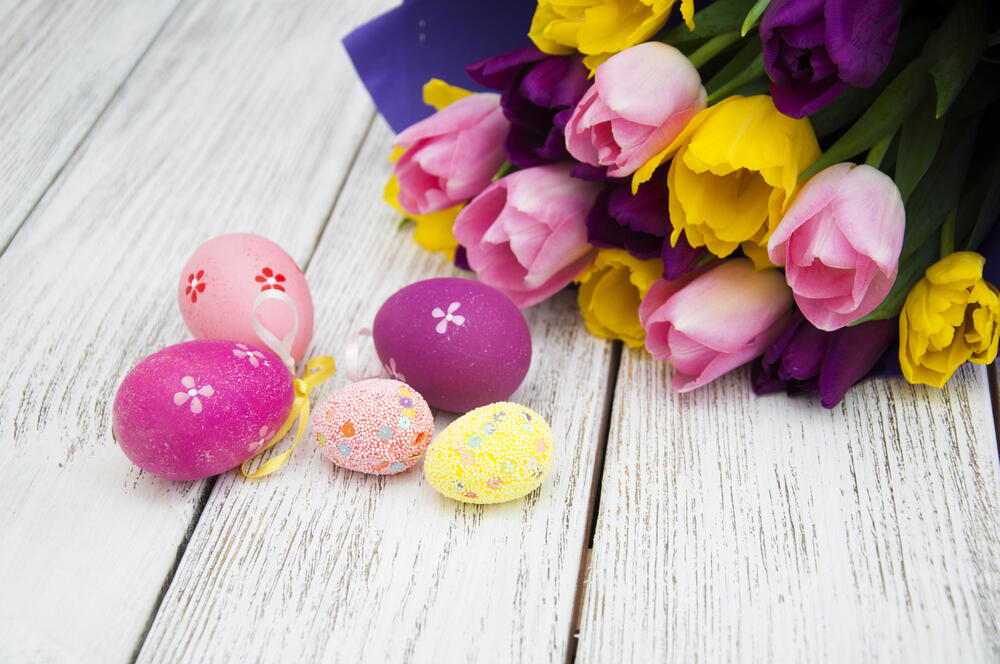
Decorating Easter eggs, for example, is a tradition that appeals to young and old alike and has become part of family customs in the days leading up to the holiday.
Eggs, a symbol of rebirth and spring, can be personalised in many ways, with creative ideas for all ages.
In this article we’ll explore some of the most creative ideas for decorating Easter eggs.
From simpler activities designed for children to more sophisticated projects for adults, we’re sure you’ll find inspiration too!
Marbled Eggs
The first project we suggest is very impressive and could be an idea for an Easter starter.
The marbling technique is in fact a very interesting idea for making colourful and spectacular Easter eggs.
To create this fascinating effect, you will need:
- eggs
- food colouring or natural colouring (turmeric, beetroot water, tea bags…)
- small pots
- vinegar (to make the colours more vivid)
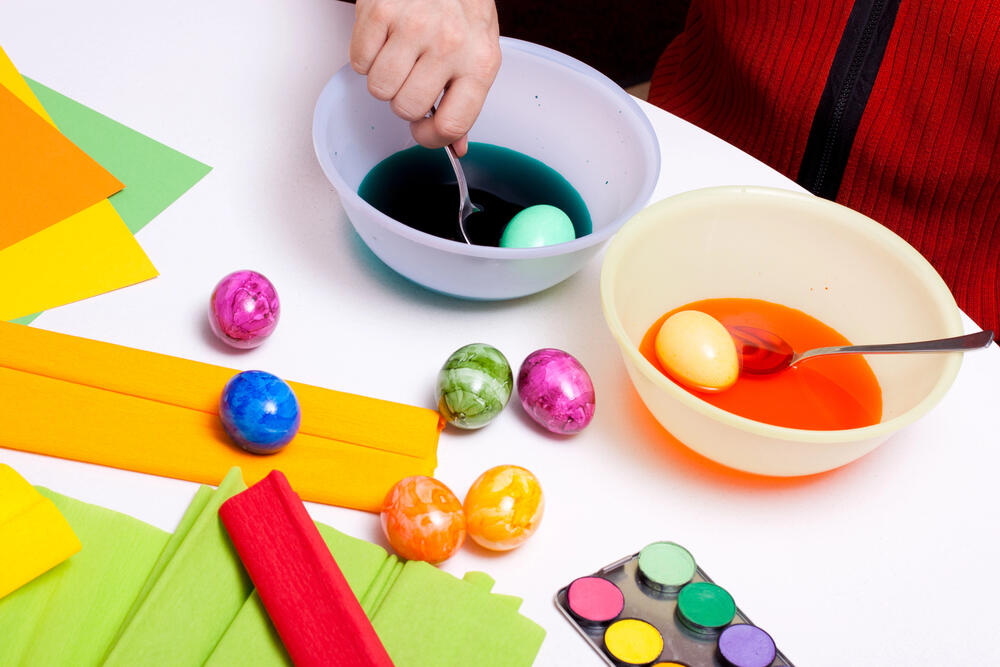
To make marbled eggs, start by preparing the dye base by mixing the natural or water-soluble food colouring with water.
Dip the eggs to be cooked in the mixture and add a teaspoon of vinegar.
Cook for about 10 minutes from the point of boiling, then when the eggs are hard, remove them from the cooking water (keep this water aside), let them cool down a little and then tap the shell with a teaspoon to create cracks but still leave it attached to the egg.
Once this is done, put the eggs back in the cooking water, where they should rest for at least 12 hours.
This way the egg white will also colour sufficiently and the cracks, once peeled, will give you a marbled effect.
Eggs with Stencils
For those looking for a more precise and detailed result, using stencils is a perfect choice.
With this technique, you can create designs of any kind on the eggs, from floral to geometric patterns.
You will need:
- Hollow or fake eggs in solid colours
- Easter-themed stencils (such as flowers, bunnies, eggs, etc.)
- Acrylic colours
- Fine brushes
Place the stencil on the egg and, with a fine brush, apply the colour over the areas left uncovered by the stencil.
The final effect will be a precise and lively design, ideal for those who want to make eggs with a professional look.
You can also use sponges to make stencils for children.
Glitter Rain
Glitter is always a good idea for adding a sparkling touch to Easter decorations.
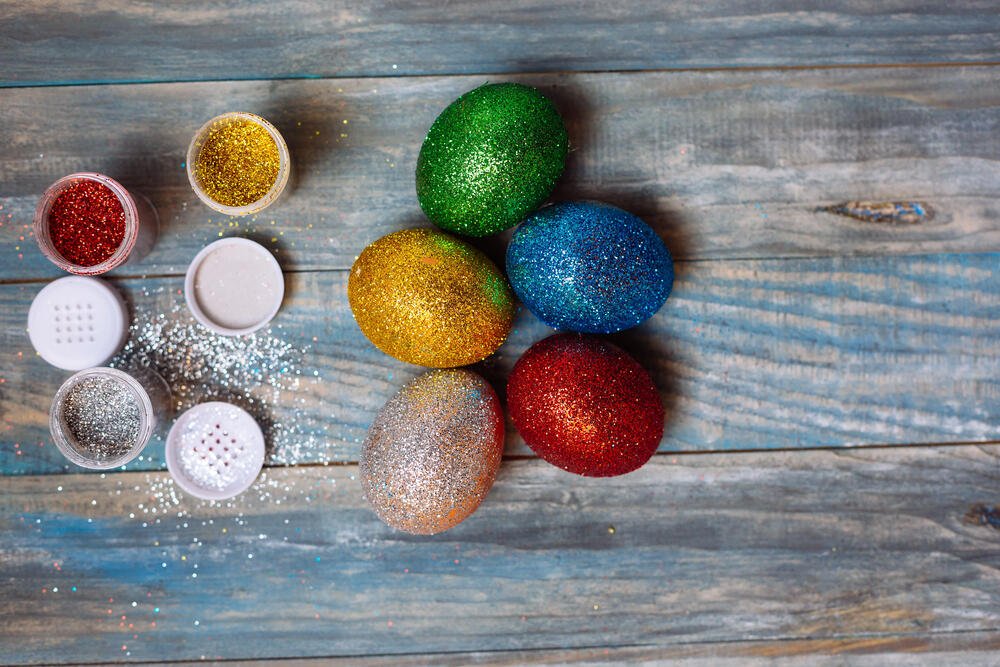
For glitter eggs, you will need:
- Plain coloured fake eggs
- PVA glue
- Coloured glitter
- Brushes
Start by spreading a thin layer of glue on the egg, then, with the help of a brush, spread the glitter over the area covered by the glue.
You can choose to decorate the entire surface or create specific patterns, such as stripes or polka dots, to make the eggs even more lively.
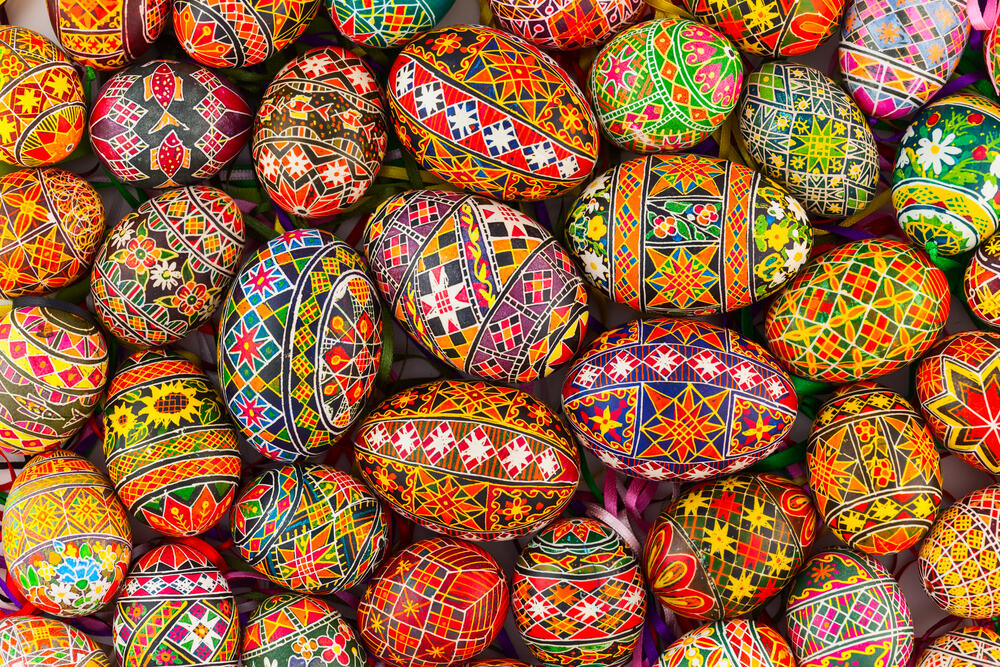
Hand-Painted Eggs
If you like the idea of completely customising your eggs, hand painting is the method for you.
With this technique, you can express your creativity and create real masterpieces.
Here’s what you need:
- Hollow or fake eggs in solid colours
- Brushes of various sizes
- Acrylic colours
- Tray for mixing colours
To paint eggs by hand, start by applying a base coat of the chosen colour; then, let it dry before adding other details.
You can draw freehand patterns such as flowers, birds or Easter symbols, or let your imagination run wild with abstract shapes and bright colours.
Decoupage Eggs
Decoupage is a technique that consists of gluing paper cut-outs onto a surface.
It’s perfect for those who love the art of recycling and want to create unique eggs.
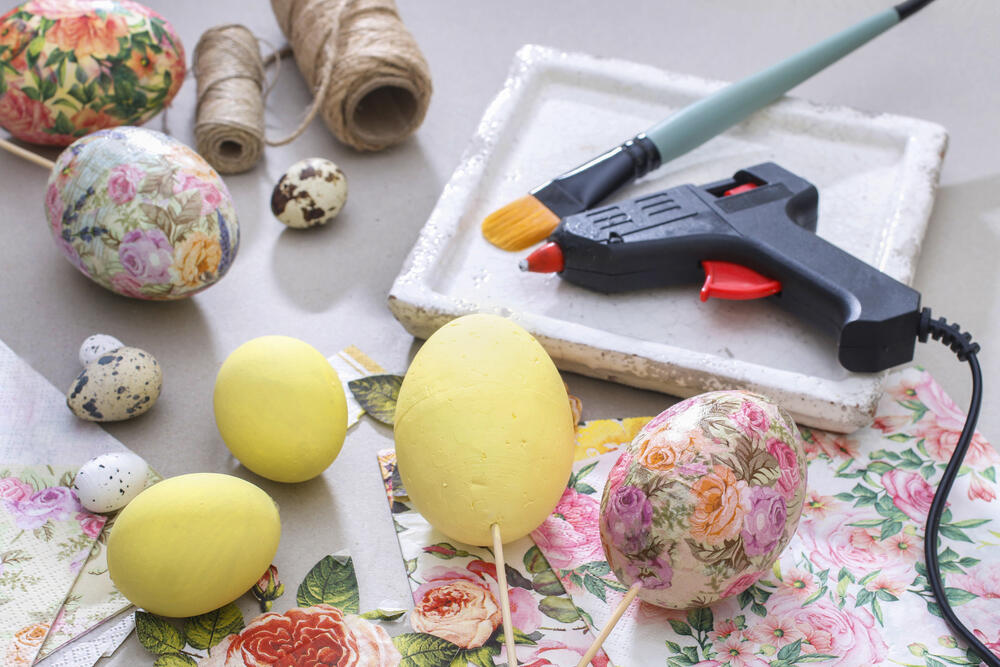
The materials you need are:
- Empty or fake eggs
- Paper cut-outs (these can be from old newspapers, coloured napkins or gift wrapping paper)
- Decoupage glue
- Brush
Cut the pieces of paper into the desired shape, then apply a layer of glue to the surface of the egg.
Place the pieces of paper on top of the glue and fix them in place with another layer of glue on top of the paper.
Leave to dry well and you’ll see that the final effect will be very elegant.
Creative Easter Eggs: Family Fun
Decorating Easter eggs is a fun activity and perfect for creating a nice moment of sharing with the family.
Creating decorations for the house or the table together will put everyone in a good mood and make children feel special and an integral part of the preparations.
As for adults… what could be more fun than being a child again just for a while?
You might also enjoy: FREE Easter Colouring & Activity Pages for Kids
Photo Credit: Depositphotos
Discover more from Zena's Suitcase
Subscribe to get the latest posts sent to your email.