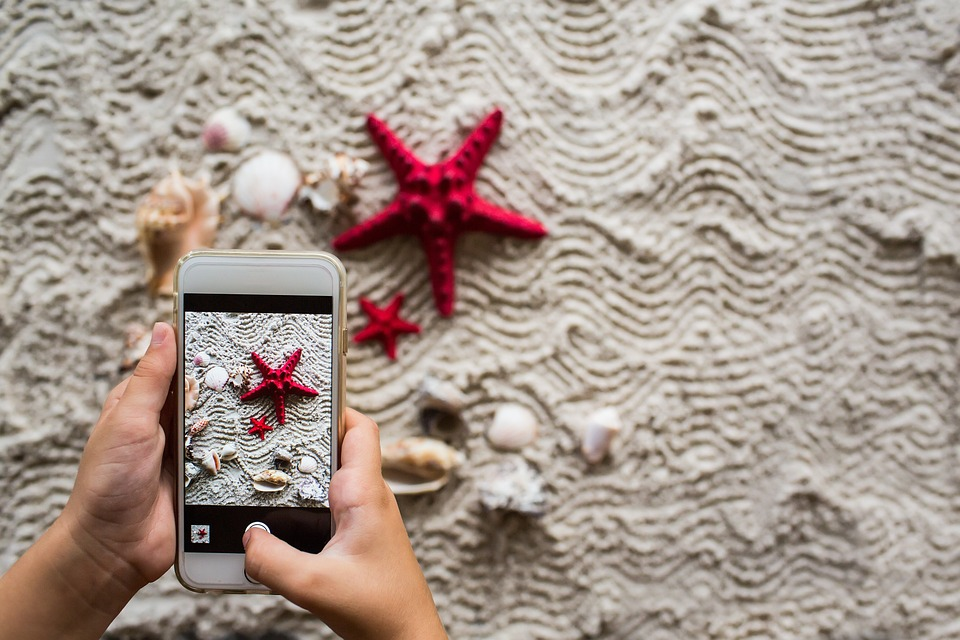
How to Edit a Photo on iPhone: 5 Top Tips
If you consider yourself a budding photographer, then you’re likely constantly looking for ways to improve and hone your craft.
This can include obsessively editing your latest photos so they look just right.
That being said, if you’re new to photography and your iPhone comes with a few pre-installed photo editing apps, you might be wondering how to edit photos on iPhone.
Not sure where to start? We’ve got you covered, keep reading to find out how to edit a photo on iPhone!
1. Crop a Photo
The first tip when it comes to cropping a photo on your iPhone is to make sure that the aspect ratio is set correctly.
This can be done by tapping on the “Aspect” button in the bottom right corner of the screen.
Once you have the correct aspect ratio set, you can then use your fingers to crop the photo.
You can also remove background first before cropping depending on the style you want.
2. Enhance Colors
To edit a photo on your iPhone, start by opening the iPhone photos in the Photos app.
Tap the “Edit” button in the top right corner of the screen. Then, tap the “Enhance” button in the bottom right corner.
This will automatically improve the colors in your photo. To adjust the colors further, tap the “Adjust” button in the top left corner of the screen.
Then, use the slider bars to change the brightness, contrast, saturation, and sharpness. When you’re finished, tap the “Done” button in the top right corner of the screen.
3. Adjust Highlights
Open the photo you wish to edit. Tap on the “Adjust” button located in the bottom toolbar. From the “Adjust” options, select “Highlights.”
Use your finger to drag the Highlights slider to the left or right to increase or decrease the brightness of the highlights in your photo. When you are finished adjusting the highlights, tap on the “Done” button.
4. Adjust Contrast
One way is to go into the “Edit” menu and select the ” Adjust ” option. This will bring up a slider that you can use to adjust the contrast.
Another way to adjust the contrast is to use the “Filters” option in the “Edit” menu. This will allow you to apply a filter to the photo that will change the contrast.
5. Apply Filters
If you want to apply a filter to your photo, tap the Filter button in the bottom left corner of the screen.
If you want to save a copy of the photo without the filter, tap the share button in the top right corner and choose “Save to Camera Roll.”
If you only want to save the photo with the filter, tap the save button in the top right corner.
Learn How to Edit a Photo on iPhone Today
There are a number of ways on how to edit a photo on iPhone, and these top tips will help you get the most out of your pictures.
With a few simple steps, you can make your photos look their best.
So, get out there and start snapping some photos!
Would you like to learn more about this topic? Read more here.
Discover more from Zena's Suitcase
Subscribe to get the latest posts sent to your email.